 Joy of Creation.

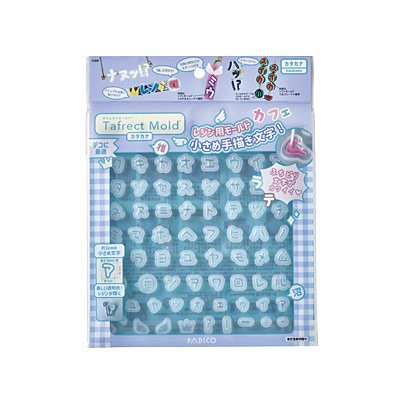
Tafrect Mold®[HIRAGANA]
Design registration pending
* “Tafrect®” and “Tafrect Mold®” are registered trademarks of PADICO Co., Ltd, registered in Japan.
#403393
JAN:4902498733933
Mold size:W150mm×H150mm×D5mm
Package size:W170mm×H215mm×D5.5mm
Gross Weight:approx. 45g(mold approx. 43g)
Color:translucent
Material:Thermoplastic resin
Upper temperature limit:100~120°C
Cold temperature limit:ー20°C
Storage condition:Place out of direct sunlight.
Made in Japan
Release:October 11th, 2024
1,200 JPY
Japanese, Hangul, and alphanumeric molds released as the second series of Tufflect Mold®.
Can be make small characters ideal for Deco Art.
All letters are hand-drawn ones.
Perfect for "My Fave" activities.
features
・Japanese hiragana characters with edges
・With cute heart, star, crescent moon, and ribbon motifs
・PADICO original hand-drawn letters
・The small, 1-cm, letters are easy to decorate
・Beautiful transparent finish with resin
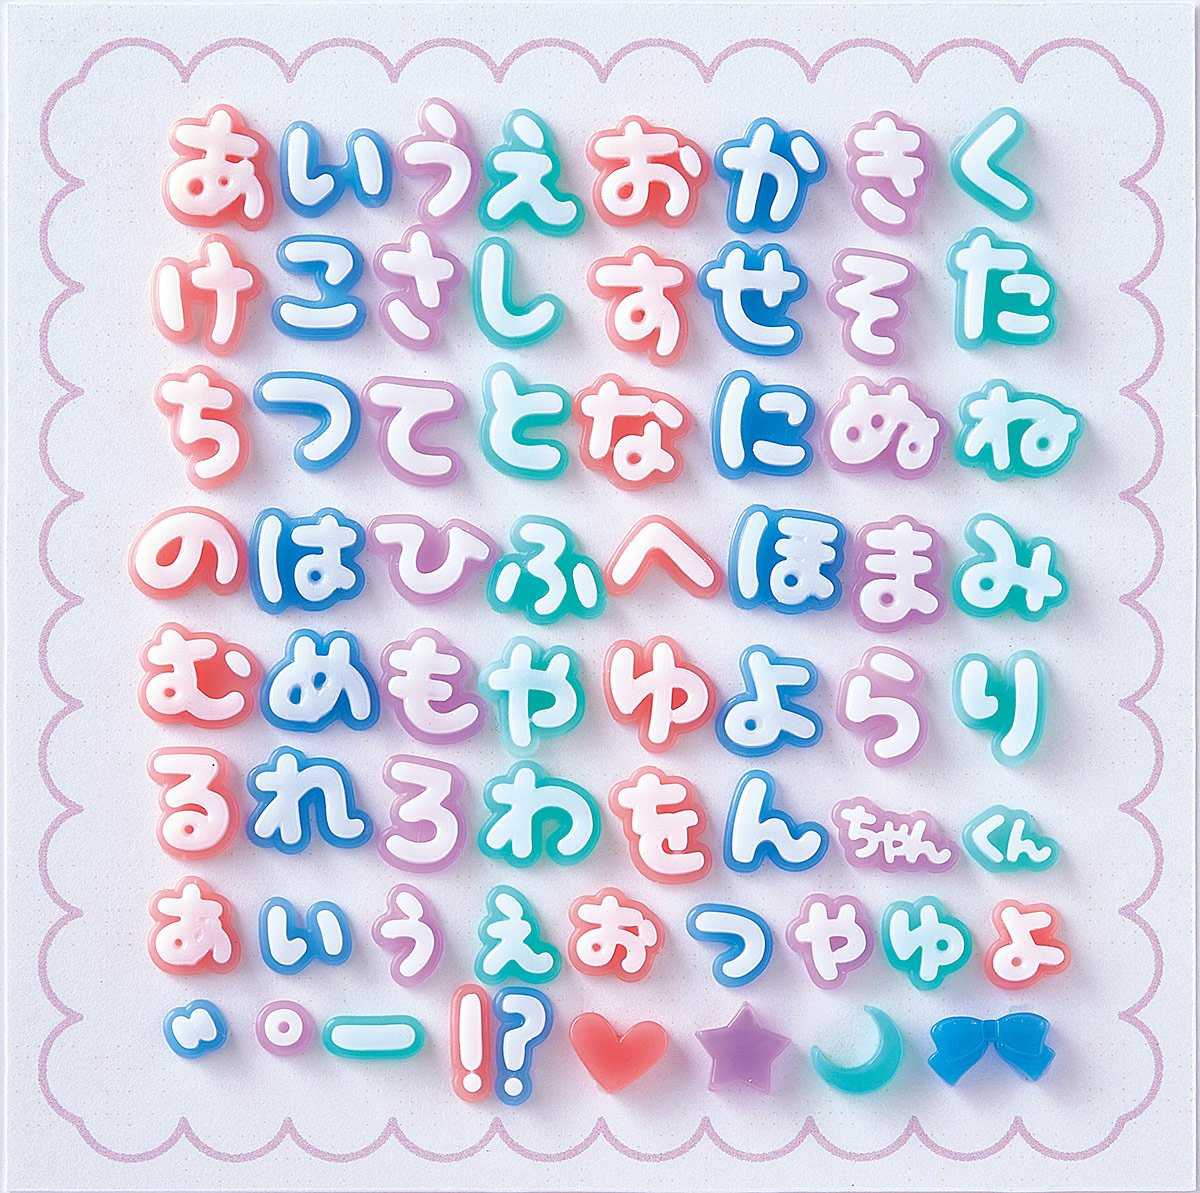
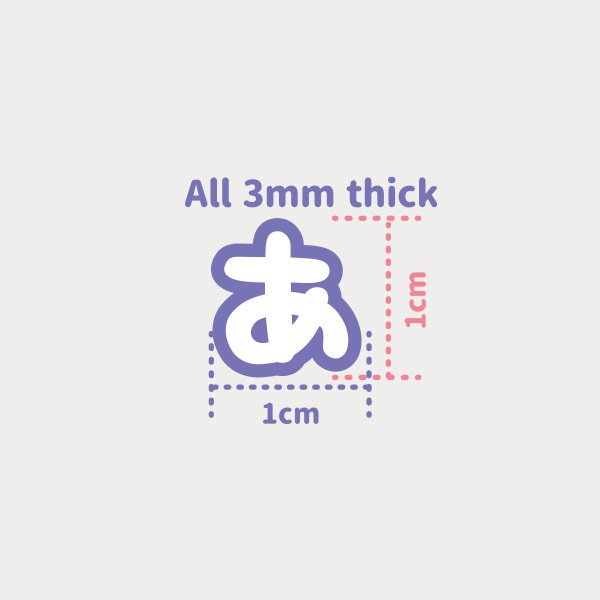
The small, 1cm, double character is so cute! PADICO original hand-drawn characters.
Easy to decorate with them.
* Hangul has no edges.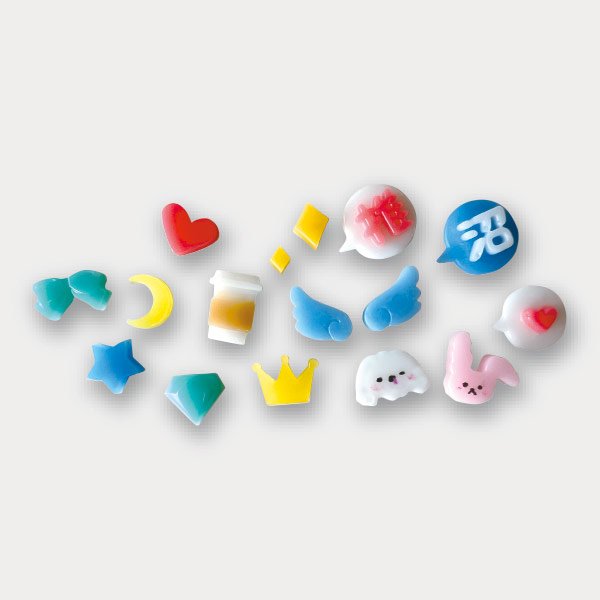
Include cute motifs for decoration Each mold comes with motifs such as angel wings and a crown.
Each mold has different designed motifs, so you may want to get them all!
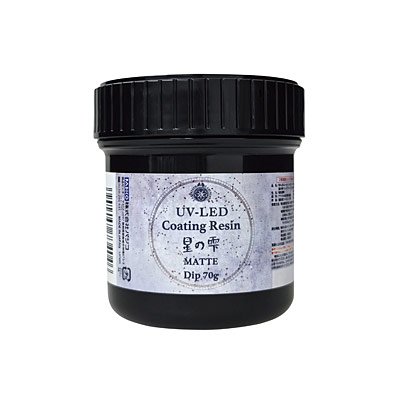
Recommended Products List
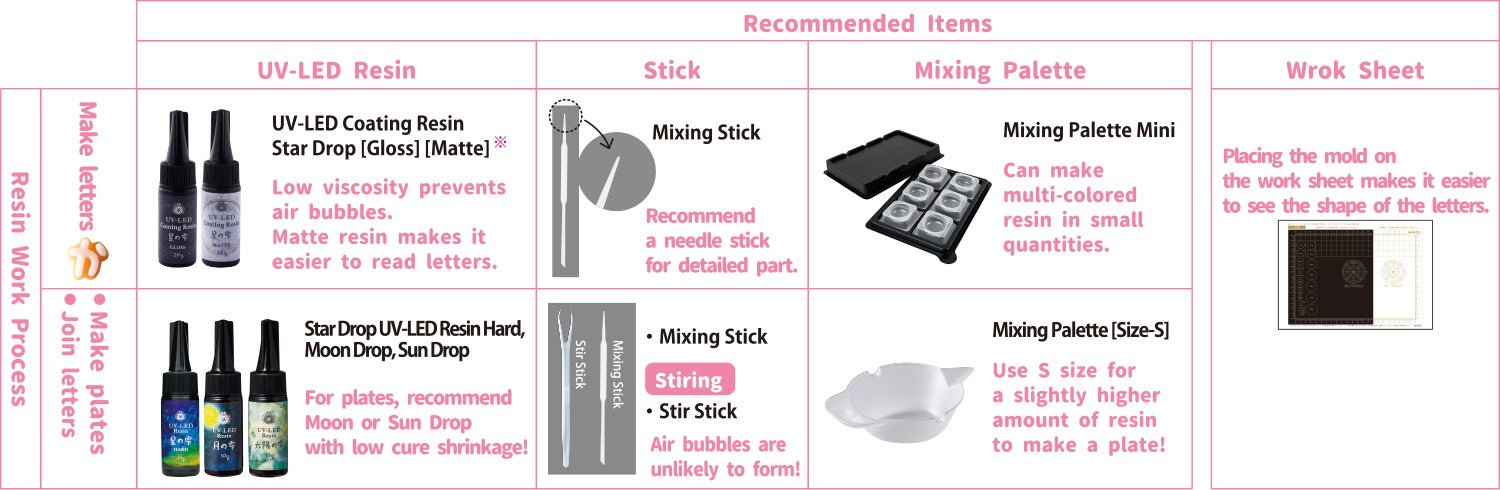
※The recommended coating resins can only be used for Tafrect Mold Letter Series. Thick molds may cause corners to stand up and high temperatures to degrade molds.
・The above list of recommended items is for your reference only. You can create resin pieces without using them.
Notes on creation
●Please read the instructions on the back of the package before creation.
●Bubbles are likely to occur, so remove them by tapping the corners of the mold with a needle stick.
●Coating resins produce a harder finish than regular resins.
●Colorant with white added makes it easier to see the color of the letters.
●When decorating, please use commercially available adhesives.
<Caution>●Distortion may occur due to the shape. ●Coating resins produce a harder finish than regular resins. Please be careful not to injure yourself when removing burrs. dispose of the removed burrs immediately in the trash. ●The pieces are small and should not be left unattended. There is a risk of injury from accidental ingestion or stepping on the product.●This mold is for resin, clay and other crafts only. Do not use for other purposes such as food. After use, wash gently with a mild detergent and keep out of reach of children and pets after drying. ●Do not place in direct sunlight or near fire. It may cause deformation or alteration. ●When removing the piece from the mold, allow the resin to cool before removing it. ●Repeated molding dozens of times while the mold is hot may cause the surface to become cloudy or deformed. ●Cannot be used in microwave ovens or ovens. ●Due to the qualities of the material, there may be minor scratches on the surface. Please understand in advance. ●Do not use solvents or oils. This can cause deterioration and fogging. ●Do not use metal spatulas or cutters, as they are easily scratched.
 How to Use
How to create letters with edges
- 1

Make 2 colors of colored resin. Colorant with white added makes it easier to see the color of letters.
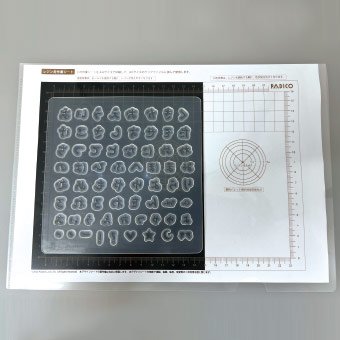
Clip the black paper to a clear file and place the mold on top of it to see the letterforms easier.
- 2
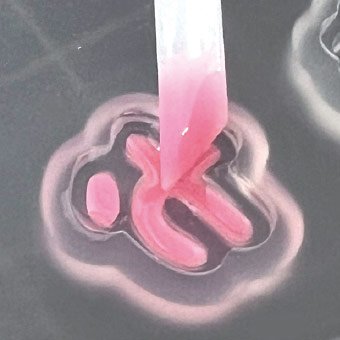
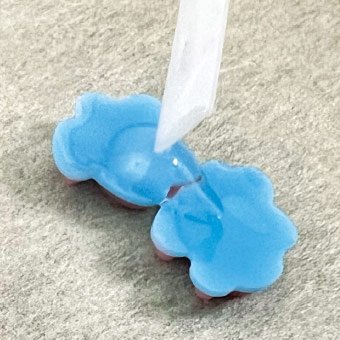
Place one drop of either of the two colored resins in the first layer of letters in the mold.
- 3
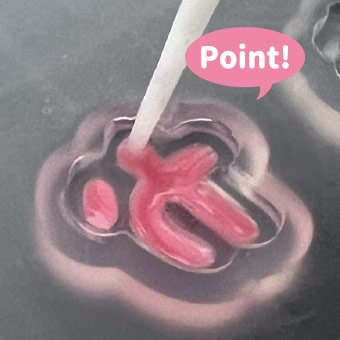
After pouring the resin, place a stick needle against the corner of the mold to remove any air bubbles.
- 4
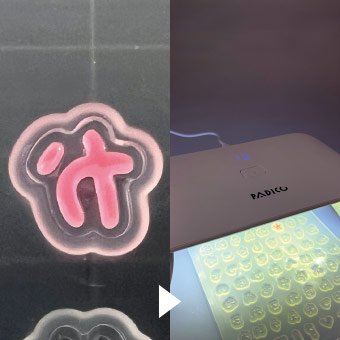
Fill the resin up to the top of the first layer of letters and cure with a UV-LED lamp.
- 5
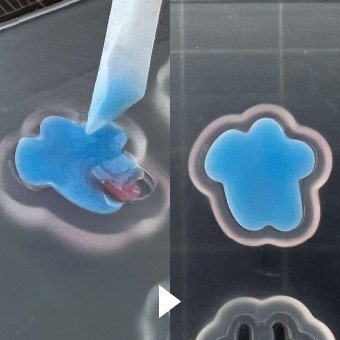
Fill the mold to the top with another colored resin and cure on both sides with a lamp.
- 6
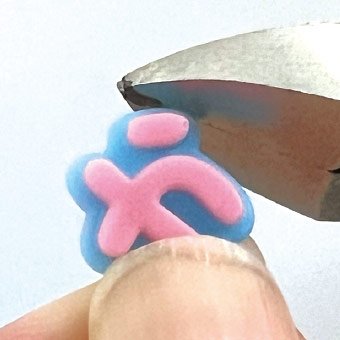
When slightly cooled, gently remove it. Remove burrs with nippers.
How to join letters
- 1
Place the letters face down on masking tape, so that they connect with the resin and cure.
How to set rings
- 1
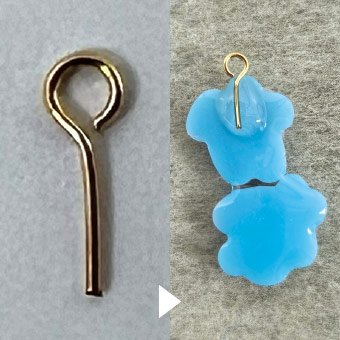
Cut the 9-pin short, turn the letters inside out, and place the resin and the 9-pin on top to cure.
- 2
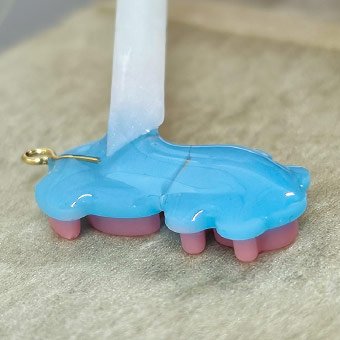
Place resin over the entire surface and let it harden.